Showing posts with label pinterest. Show all posts

Thursday, June 6, 2013

super easy, delicious, few ingredient type recipes

In an effort to cook more and save money because I'm unemployed now, I've turned to my trusty old Pinterest for some new easy recipes.  I've tried two so far and really enjoyed them both.

This first one was sooo easy and tasted really yummy!  
You can click on the link below or follow my easy instructions.

Brown your ground meat as usual and then add your packet of taco seasoning and however much water it indicates on the packet.  Prepare as usual. 


When that's ready you add a half a cup of salsa con queso, which is cheese dip by the way.  I didn't know that. Thank goodness the link has pictures.


Then you put a tortilla at the bottom of your pan, add a third of your meat mixture, then sprinkle cheese on top of that.  Continue with the layers until you've got three tortillas. 


Pop that baby in the oven at 350 for 15-20 minutes.  

It should come out looking like this and be wonderfully delicious.  It didn't last long in our house.


Next time we are going to add some corn in it somewhere.  We are all about adding corn to our Mexican dishes, oooh the fiesta corn would be perfect.  

The other pinterest recipe I tried recently was for slow cooker cheesy chicken and rice.  I'm all about the pins that have pictures of the ingredients and have very few ingredients.  I didn't take any pictures of myself cooking this one, so you can find that recipe by clicking here.

I never realized how yummy the Zatarain's Yellow Rice was!!  I could eat that all by itself, or maybe I did?


So if your looking for super easy, delicious, few ingredient type recipes, you should give these two a try.  

I would love to know some of y'alls super easy, delicious, few ingredient type of recipes as well.  

Friday, April 20, 2012

Pinterest Challenge: Fruit Dip!!

I actually made this fruit dip one time before at Christmas.  It was yummy and slightly healthy, so Brent requested some more last week.  It's pretty simple, but would be even easier if you had a food chopper.  It's pretty tedious cutting up all the fruit into such little pieces.  It's suppossed to have the consistency of a chunky salsa. 


Click here for the link to the pin.  I actually made the ciniman tortilla chips the first time and they were really easy and yummy too.  This time we just bought a box of cinnamon graham crackers, which is just as good. 

Tuesday, April 17, 2012

How to kill some gnats!!

Gnats are horrible little flying creatures and I hate them. 

When we bought a bunch of fruit for my pinterest fruit dip, some of it was left out too long and attracted a bunch of gnats.  My kids are horrible about closing the back door.  Anyway, we had been fighting them for about a week, when I had an idea. 


                                         Pinterest! 

You can find anything on pinterest.  So I searched for ways to kill gnats and I found this pin.  It's a simple mixture of apple cider, vinegar, and Dawn dish soap.  I didn't have any apple cider, so I used apple juice instead and it works just as well. 

Then you cover the cup or bowl with plastic wrap and put small holes in the top.  The gnats are attracted to the vinegar mixture and then get trapped and drown in the liquid.  I put these out before bed and look what we woke up to. 

I was so proud of myself.  I should be a professional gnat killer!

The following pictures are kind of gross, so look at your own risk!!


Thursday, April 12, 2012

Pinterest Challenge is back!!

I haven't been very good with my goal of doing one pinterest activity a week, so I made up for it during spring break.  I actually did a few pinterest things.  As much as I want to show you all of the things I did, I feel like I should just show one at a time.  This way during those weeks I am too busy lazy, I will still have a pinterest post.  So here goes...

I found this pin and I knew this would be a hit in our house because Abigail, Jackson, and I all love yogurt.  Plus it looked sooooo easy and boy was it.  Pinterest link here

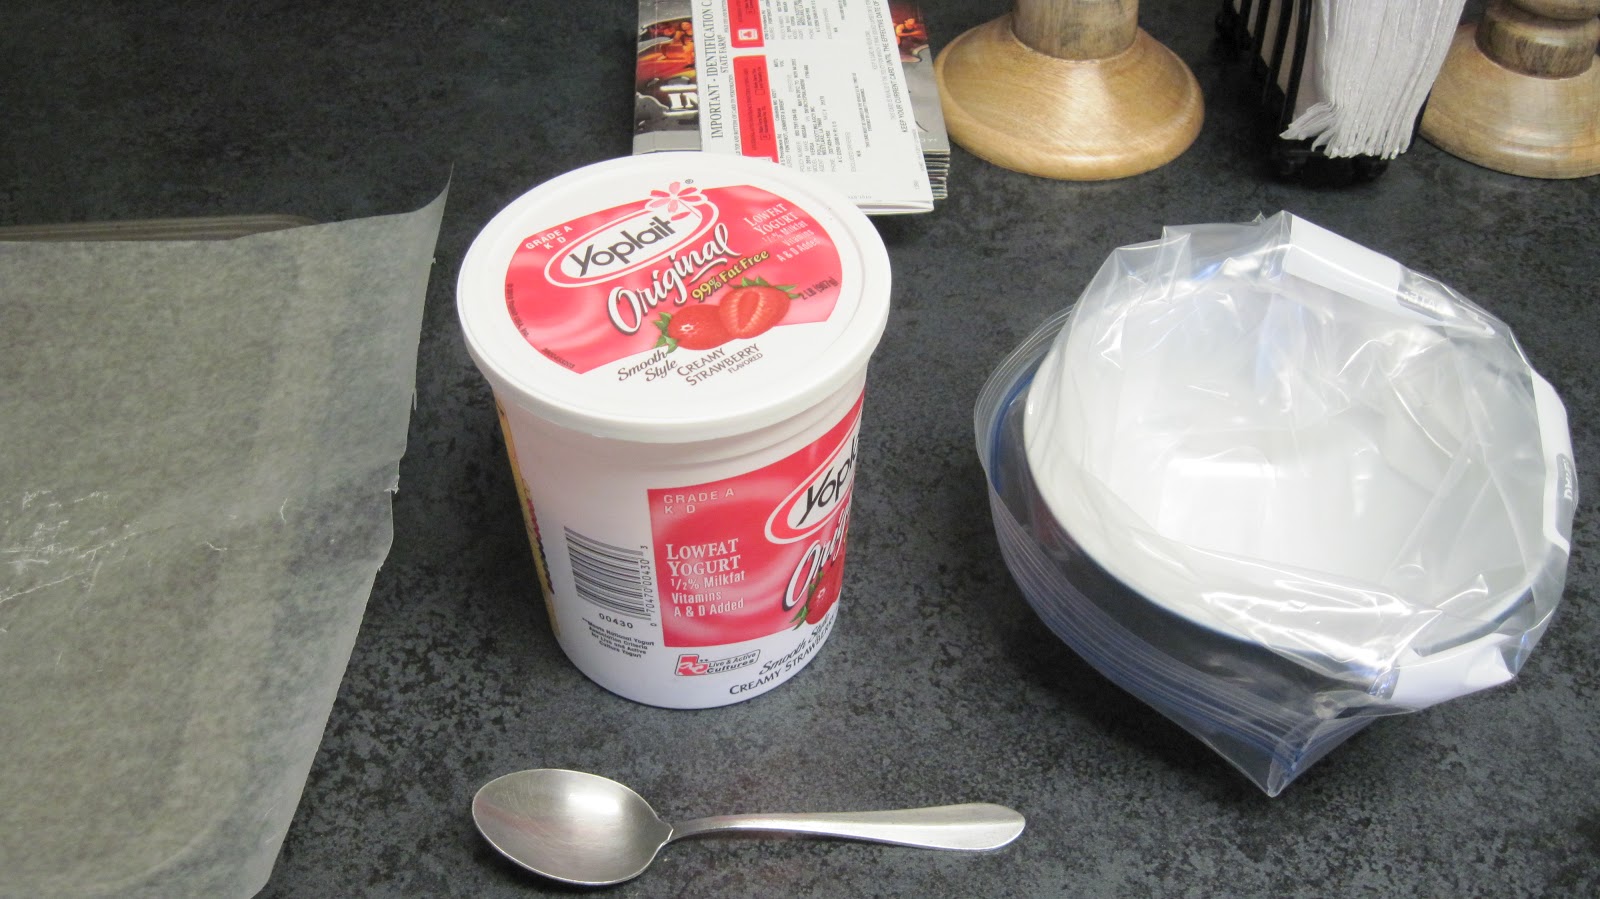
Here's what you need.

-Yogurt
-Ziploc bag
-spoon
-cookie tray
-wax paper
Put the yogurt in a Ziploc and cut the tip like so...


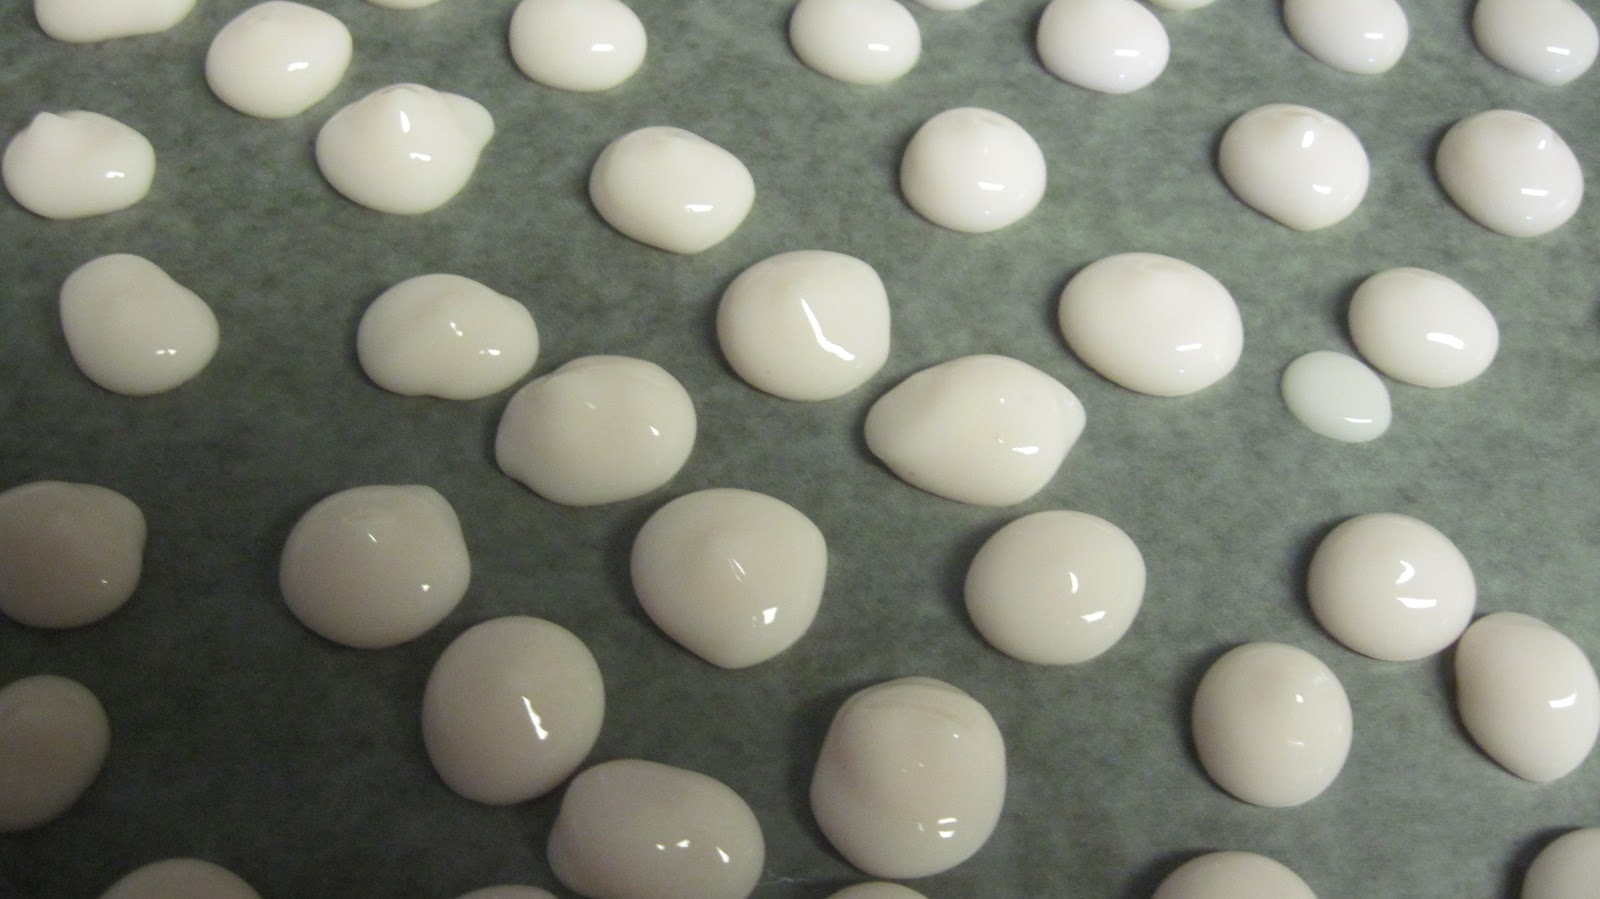
Then just drop onto wax paper and put in freezer

Those misshapen ones are Abigail's.  She had fun helping out.


It only took about an hour for them to freeze.  Then scoop into a bowl and enjoy.


A miracle occurred shortly after we made these.  Austin actually ate somel.  Austin is a picky picky eater.  He never eats yogurt, milk, or cheese.  He won't eat fruits or veggies very well either.  So needless to say I was very very pleased with this pin since it got Austin to eat a diary product.  If you have  picky eater you know how amazing this is. We will definitly be making some more of these.  They would be the perfect summer treat. 

Friday, March 23, 2012

Pinterest Challenge: Toilet paper tubes!!!

One of the first things I ever pinned on pinterest was this link.

Check out the pin here.
I was just amazed and could hardly believe that all those wall pieces were made out of toilet paper tubes.  I knew I had to try it.  I have been saving our toilet paper and paper towel tubes for a couple of months.  I am super pumped about how these came out.

Here we go starting with supplies...

A bunch of toilet paper/paper towel tubes cut into about inch or half inch strips, Elmer's glue, paper clips, and spray paint.

Next-

Start with two pieces, glue together the tips and slide a paper clip over both pieces to hold together while glue dries.  Then repeat until you have four pieces together like this.


A slight problem that I ran across was different size toilet paper tubes, which I didn't notice until after I started.  So be careful to make sure they are all the same size.

                                                                 (slightly different)


Repeat the steps above until you have as many of the flowers that you need for your wall piece.  Then you can start connecting the tips of the flowers together and fasten with the paper clip to create your design.


                                                 I just made my first one into a square.

                      With the rest I made a sort of cross design. Then I had to lonely flowers left by themselves.

Lay them all out on newspaper or any old paper you have around.  Mine is the back of valentines wrapping paper. Then you are ready to spray paint. 


The first coat I sprayed on very light.  I didn't want a bunch of drippies.  You will have to pick it up and angle it all sorts of ways for the spray paint to cover all the insides of your toilet paper tubes.  I let them dry for an hour and put on a second coat and made sure it was all covered well.  Then I let them sit and dry for a few hours before finding a place to hang them on the wall.


My Toilet Paper Tube Decor!!

This is how it turned out.  I am pretty happy with the result.  I definitely think I will try some of the other design ideas that are on the link.  So cheap and easy!!

The one thing I would do differently next time-  Cut my strips a little thinner and more uniform in size.  


Friday, March 16, 2012

Pinterest Challenge: Quick and Easy

I think it's really funny that every time I am about to throw something in the trash, I stop and think "I wonder what I could do with this on pinterest?"  I have so much stuff piled up that would normally have gone in the trash, but now is waiting to be recycled into something totally awesome from a pin I found on Pinterest. 

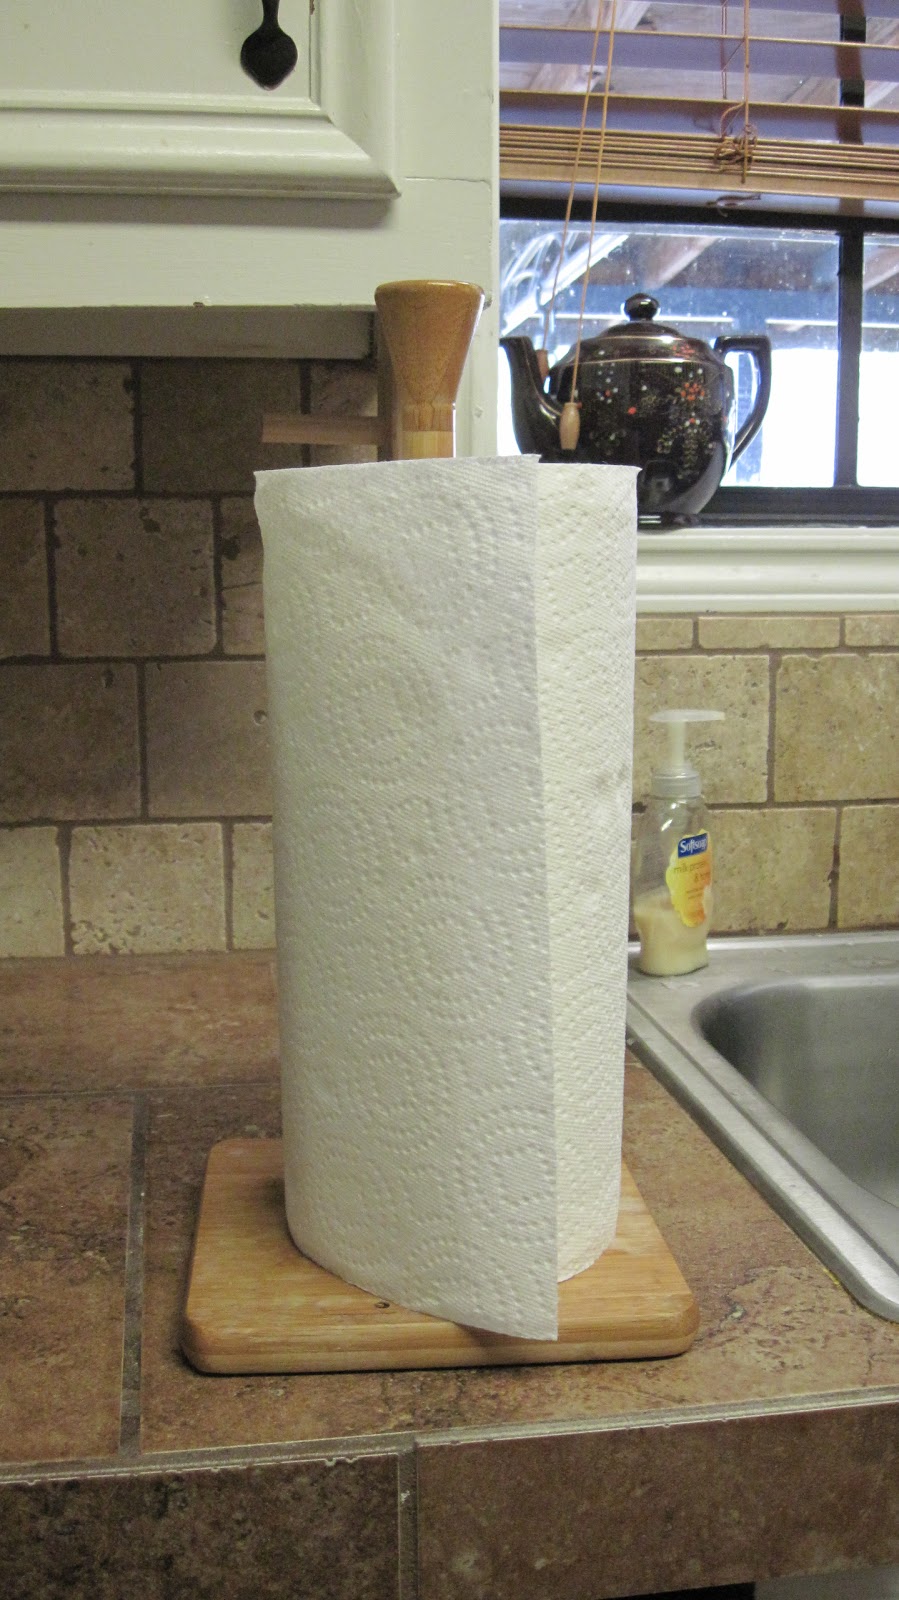
A couple weeks ago I decided that my counter tops were too cluttered.  One easy fix for this would be to buy one of those paper towel holders that attached under the cabinet so that it doesn't sit on the counter taking up space.  After we finished putting it up I was going to throw the old one away when my pinterest brain started thinking.  What could I do with this? 

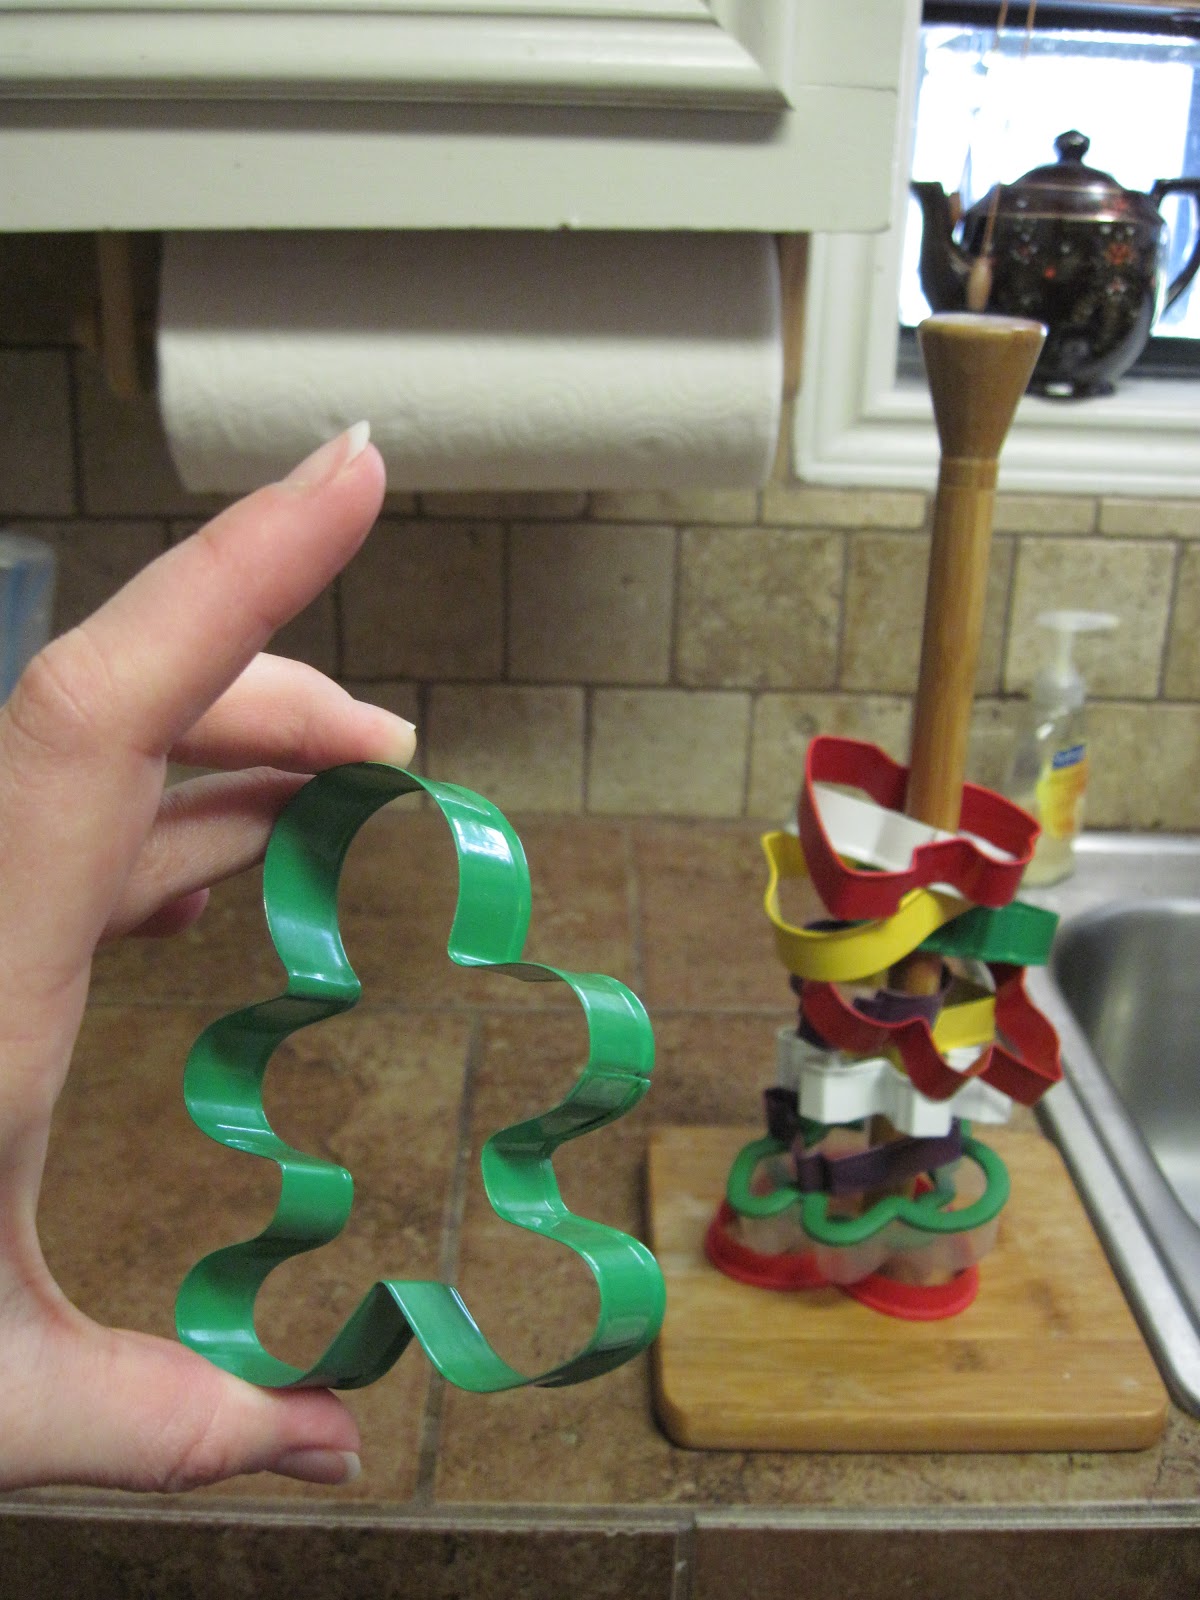
So we typed "paper towel holders" in the search box on pinterest and came up with some great ideas.  Most of them were ways to hold your ribbons.  Since I don't have a bunch of ribbon, I kept looking and found this.


I know it is so easy and simple it really shouldn't qualify as my pinterest challenge project, but I had a busy week so this is what I got. 


I was just cleaning out my cabinets and found all my cookie cutters strewn at the bottom of a one.  I was planning on buying a little box to put them in or something, but I think this will do for now. 


Friday, March 9, 2012

Pinterest Biscuits

I’m not real happy that I have done two recipe pins in a row for my pinterest challenge, but at least I did it. 
Here is the link from the pin for Cheesy Biscuits.  I followed the recipe exactly, but it called for a mini muffin pan and I didn’t have one, so I just used my normal size.  I had to guess on the amount of time to cook them.  I think I set it for 20 minutes, but stopped around 16 because they looked golden brown. 
Also instead of 20 mini muffins I only got 9 normal size ones out of the recipe. 
I thought the biscuits were quick and easy, but I wasn’t super impressed with the taste.  I mean they weren’t nasty.  They tasted pretty good.  I just thought they would be cheesier tasting.  Please keep in mind I am not really a very good cook, so someone else could make these and they might taste awesome. 
Also I didn’t really like the fact that the recipe called for buttermilk.  I had to buy a half gallon of buttermilk, which I never use, for a half a cup in the recipe.  Now the rest will go bad and be wasted. 
So my overall review of this pin is just OK. 

Friday, March 2, 2012

Pinterest Challenge:Yummy!!

I found this pin for Baked Crispy Cheddar Chicken.  It looked so yummy and easy.  I had to give it a try as part of my weekly pinterest challenge. I am not a great cook, so easy and delicious are absolutely necessary in order for me to cook anything!!

Crispy Cheddar Chicken
Time: 15 minute prep + 35 minutes baking
Yield: 7 servings
Recipe adapted from What's Cookin' Chicago via Pinterest

Chicken:
4 large chicken breasts
2 sleeves Ritz crackers
1/4 t salt
1/8 t pepper
1/2 C milk
3 C cheddar cheese, grated
1 t dried parsley

Sauce:
1   10 ounce can cream of chicken soup
2 T sour cream
2 T butter

Cut each chicken breasts in two or three pieces.

 Crush your ritz crackers add the salt and pepper to the ritz and put in a bowl.  Put Cheese and milk in bowls.

Dip your chicken in the milk, then the cheese, and last the ritz crumbs.  Things will start to get messy but it's all good. I sprinkled a little extra cheese on top before I put them in the oven.  Cover with foil and bake at 400 degrees for 35 minutes.  Uncover and cook for 10 more minutes.  (I only needed to cook mine for about 6 more minutes)
Sauce: mix all ingredients in sauce pan and heat up.  Poor a little over the chicken before you eat.

My finished product!!!

Yummy, Yummy!!!

We ended the night with mouthwatering dutch apple crumb pie. It was easy too!  Straight from the frozen section at our local grocery store.  


 I would love to know what recipes you tried that are delicious and most importantly fast and easy? 

Friday, February 24, 2012

Pinterest Challenge: Cleaning Stove Grates!

Don't judge me, but this is how dirty my stove grates were.  I have tried scrubbing them with hot water and dish soap.  I have tried soaking them in water over night.  I have even put them in the dishwasher, but nothing would take off the grease and grime that you can easily see in the picture above.

I found a pin of pinterest that instructed me to put the grate in a ziplock bag with about 1/4 cup of amonia.  This pin said that I would be able to wipe away the dirt and grime easily after about 12 hours of letting the amonia fumes do their thing. 
I was very doubtful, but willing to try anything to get my grates clean. 

Look at what was left in the bag after I took out the grate.  I know, gross. 

Now here is my clean grate.  Those dirty looking spots are actually rust.   Can you believe how easy this is?  I barely had to wipe the grate and all the grease and grime buildup was gone.  Have I mentioned that I love pinterest? 

I also read the instructions on the bottle and mixed a half cup of amonia with a gallon of water to clean my stove top, so that it would be as shiny and clean as the grates.

What cleaning pins have you tried from pinterest? Did they work?

PS. Stay tuned for next weeks pinterest challenge!  I am going to try a couple recipes.